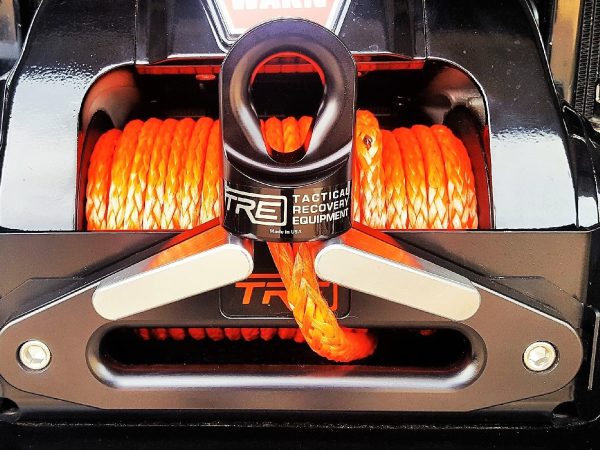
Safety Thimble Splicing Instructions for Synthetic Winch Rope
“Don’t Fear The Splice”
Parts Included:
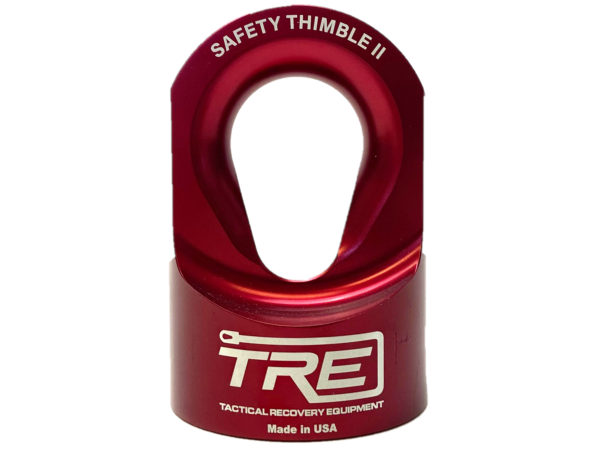
Qty. 1 – Safety Thimble I or II
Qty. 1 – plastic splicing fid
Tools Required:
Sharp pair of scissors/shears or razor knife
Electrical tape
*IF you are splicing your new Safety Thimble onto a synthetic new winch rope proceed to STEP 2
*IF you are replacing your existing tube-thimble/hook set-up, you must first remove these items from your winch rope before splicing. See STEP 1.
STEP 1 Removing the Tube Thimble: Most aftermarket winch ropes that have a standard tube-thimble termination use a brummel lock-splice. You will need to pull the buried tail out from the center of your rope. It is generally 10”-12” long and starts a couple inches below the tube thimble. Take your scissors and cut your rope right where the tail entered the long length of your rope. You may now disregard the piece of rope and any accessories attached to it.
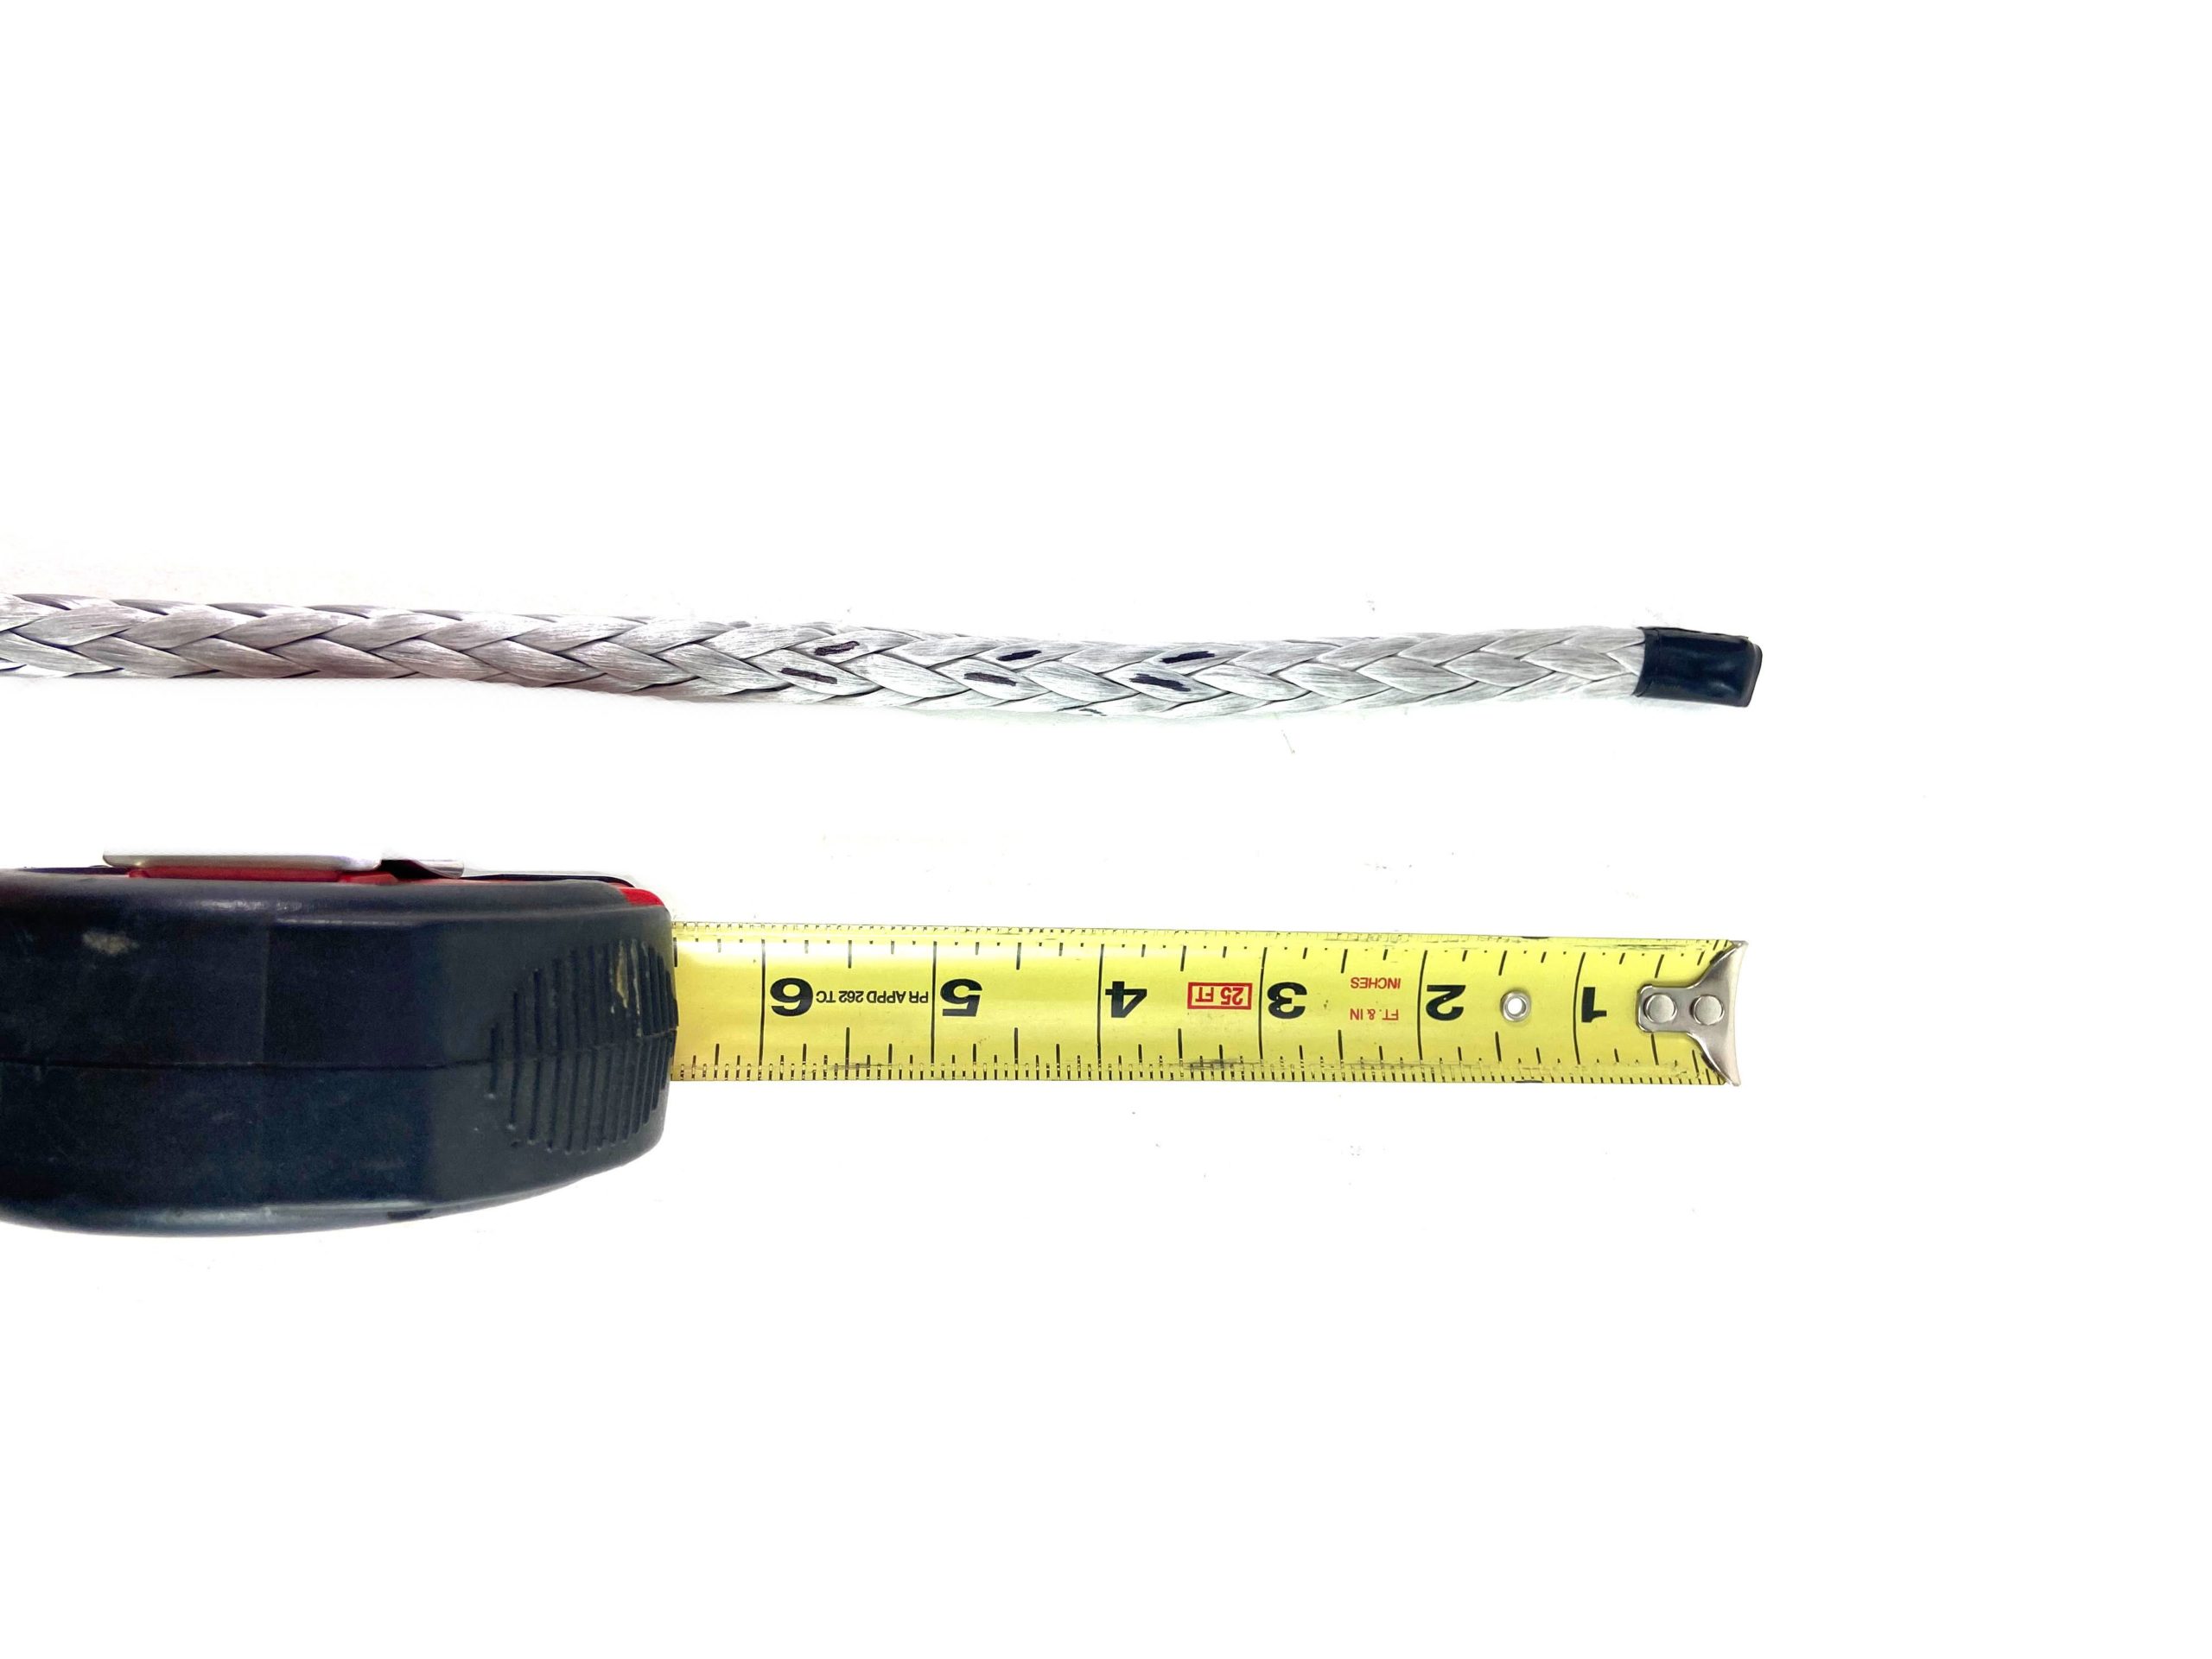
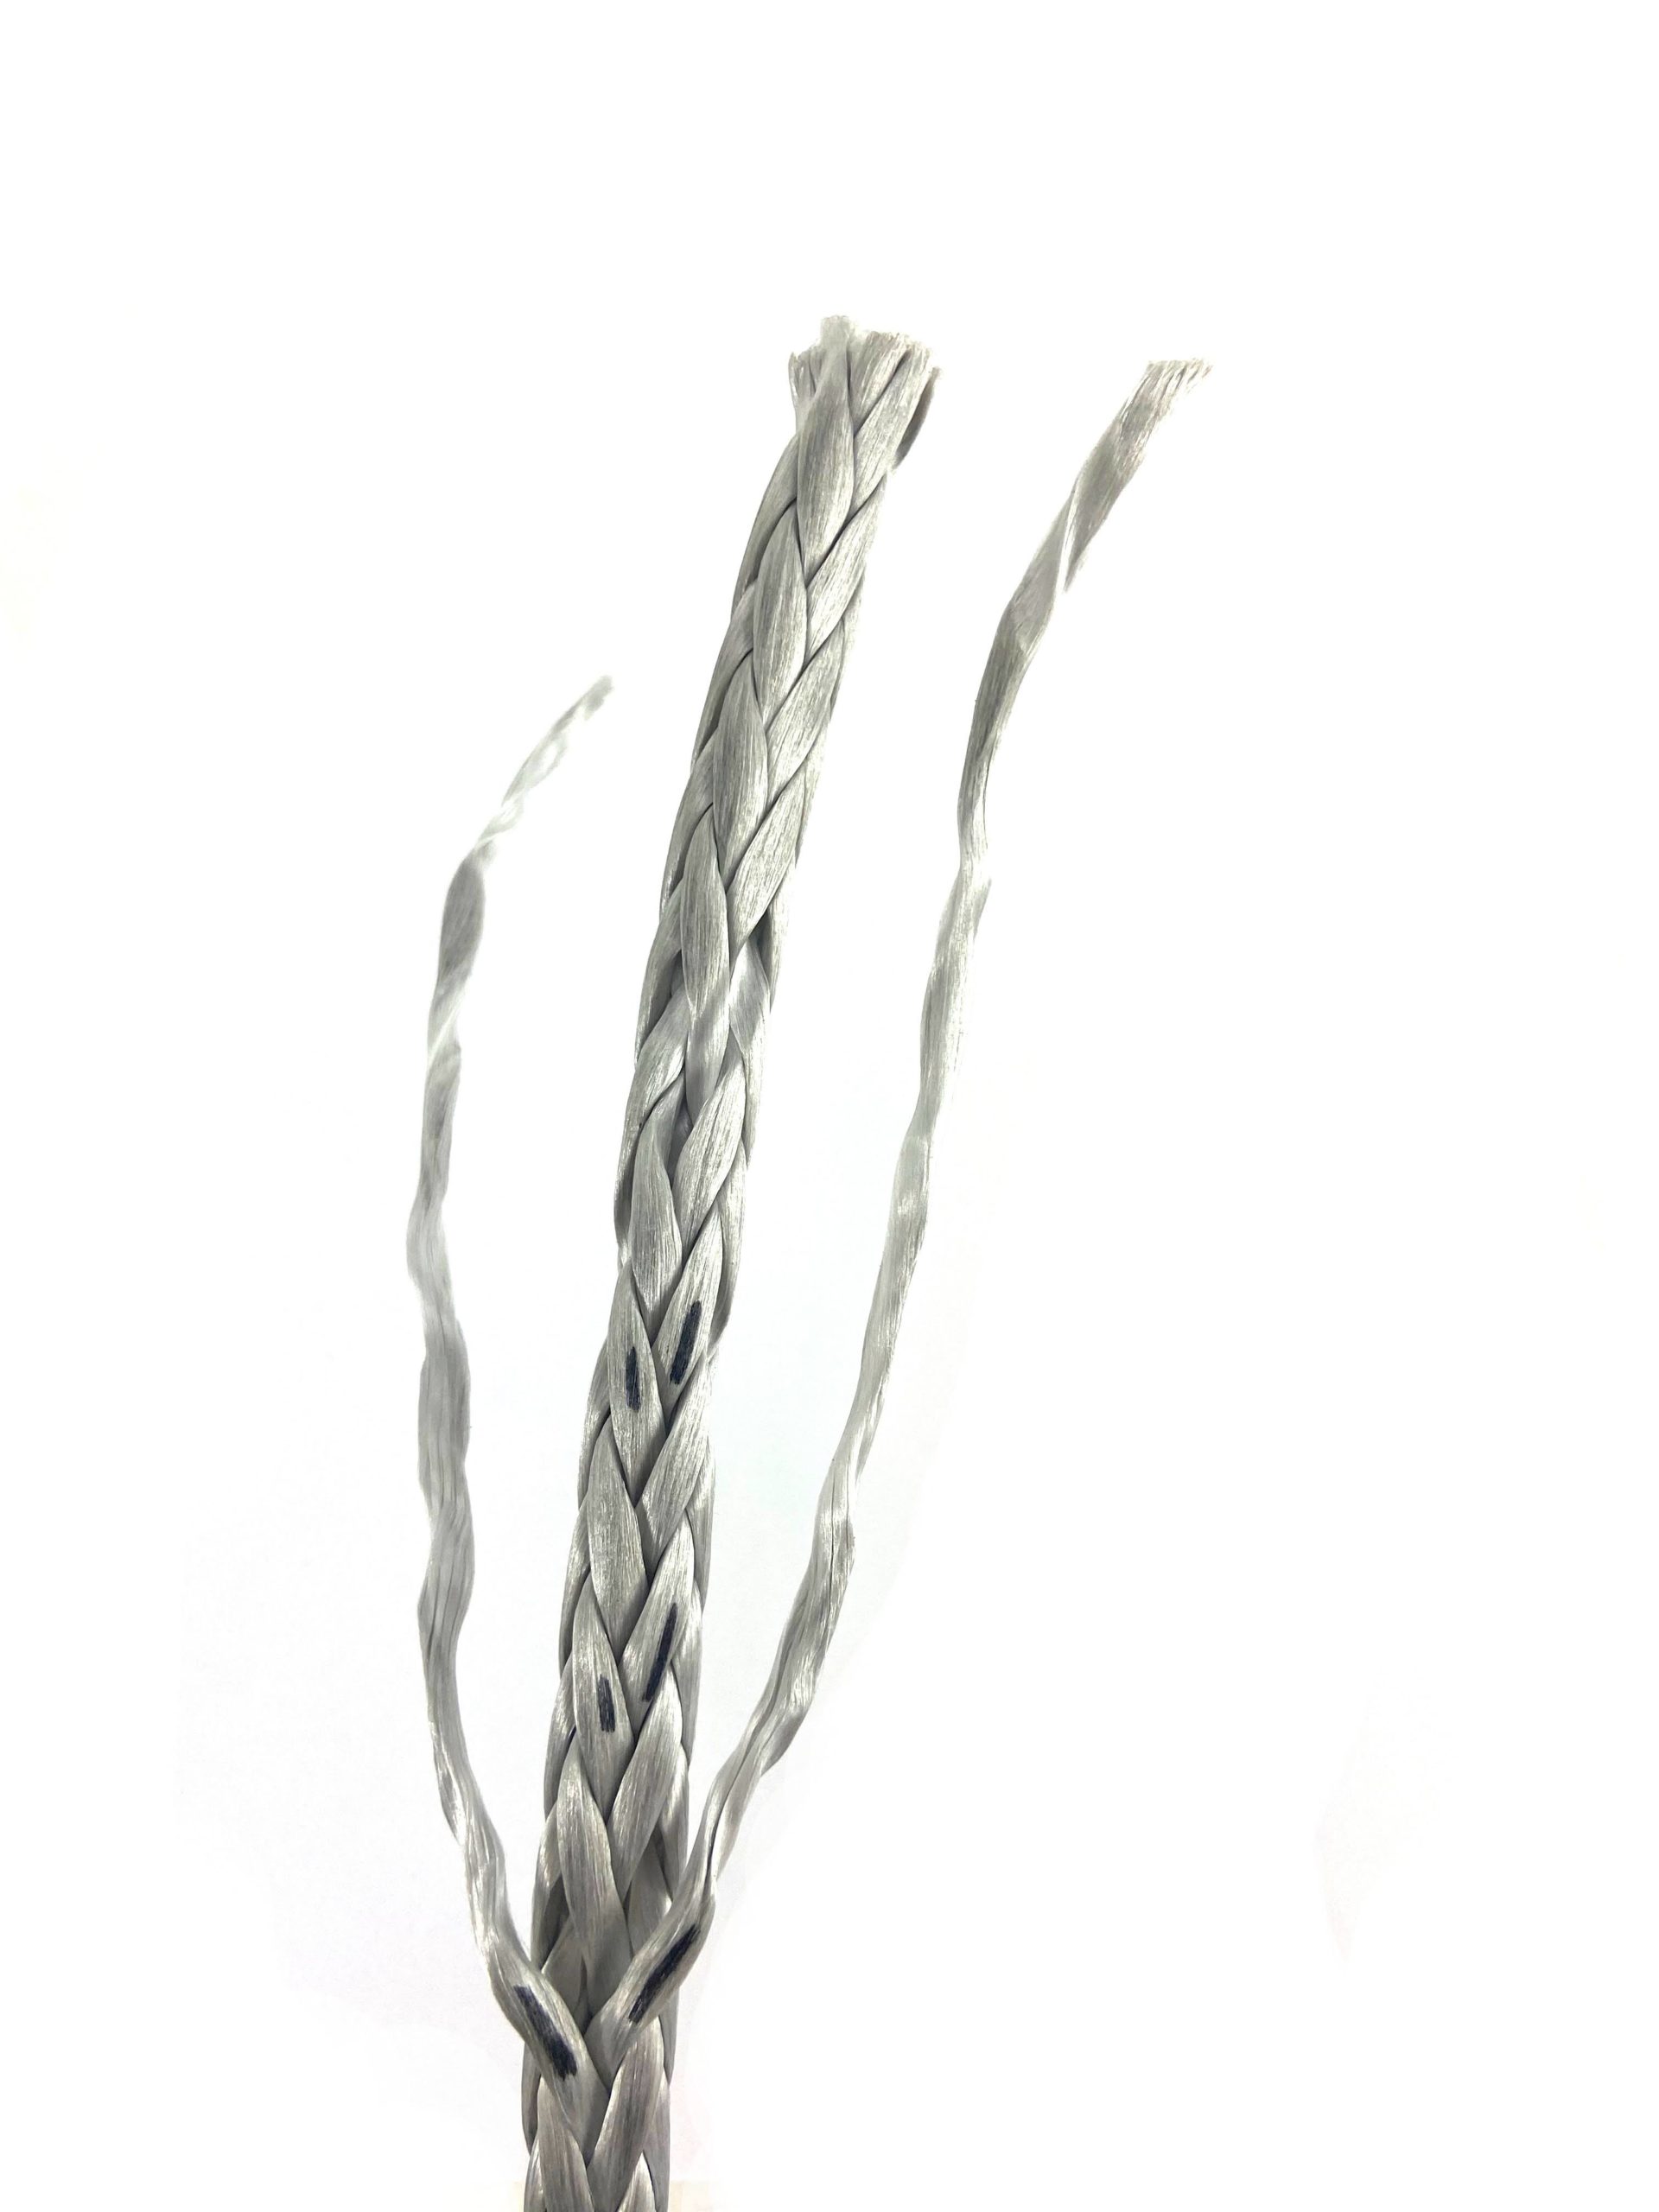
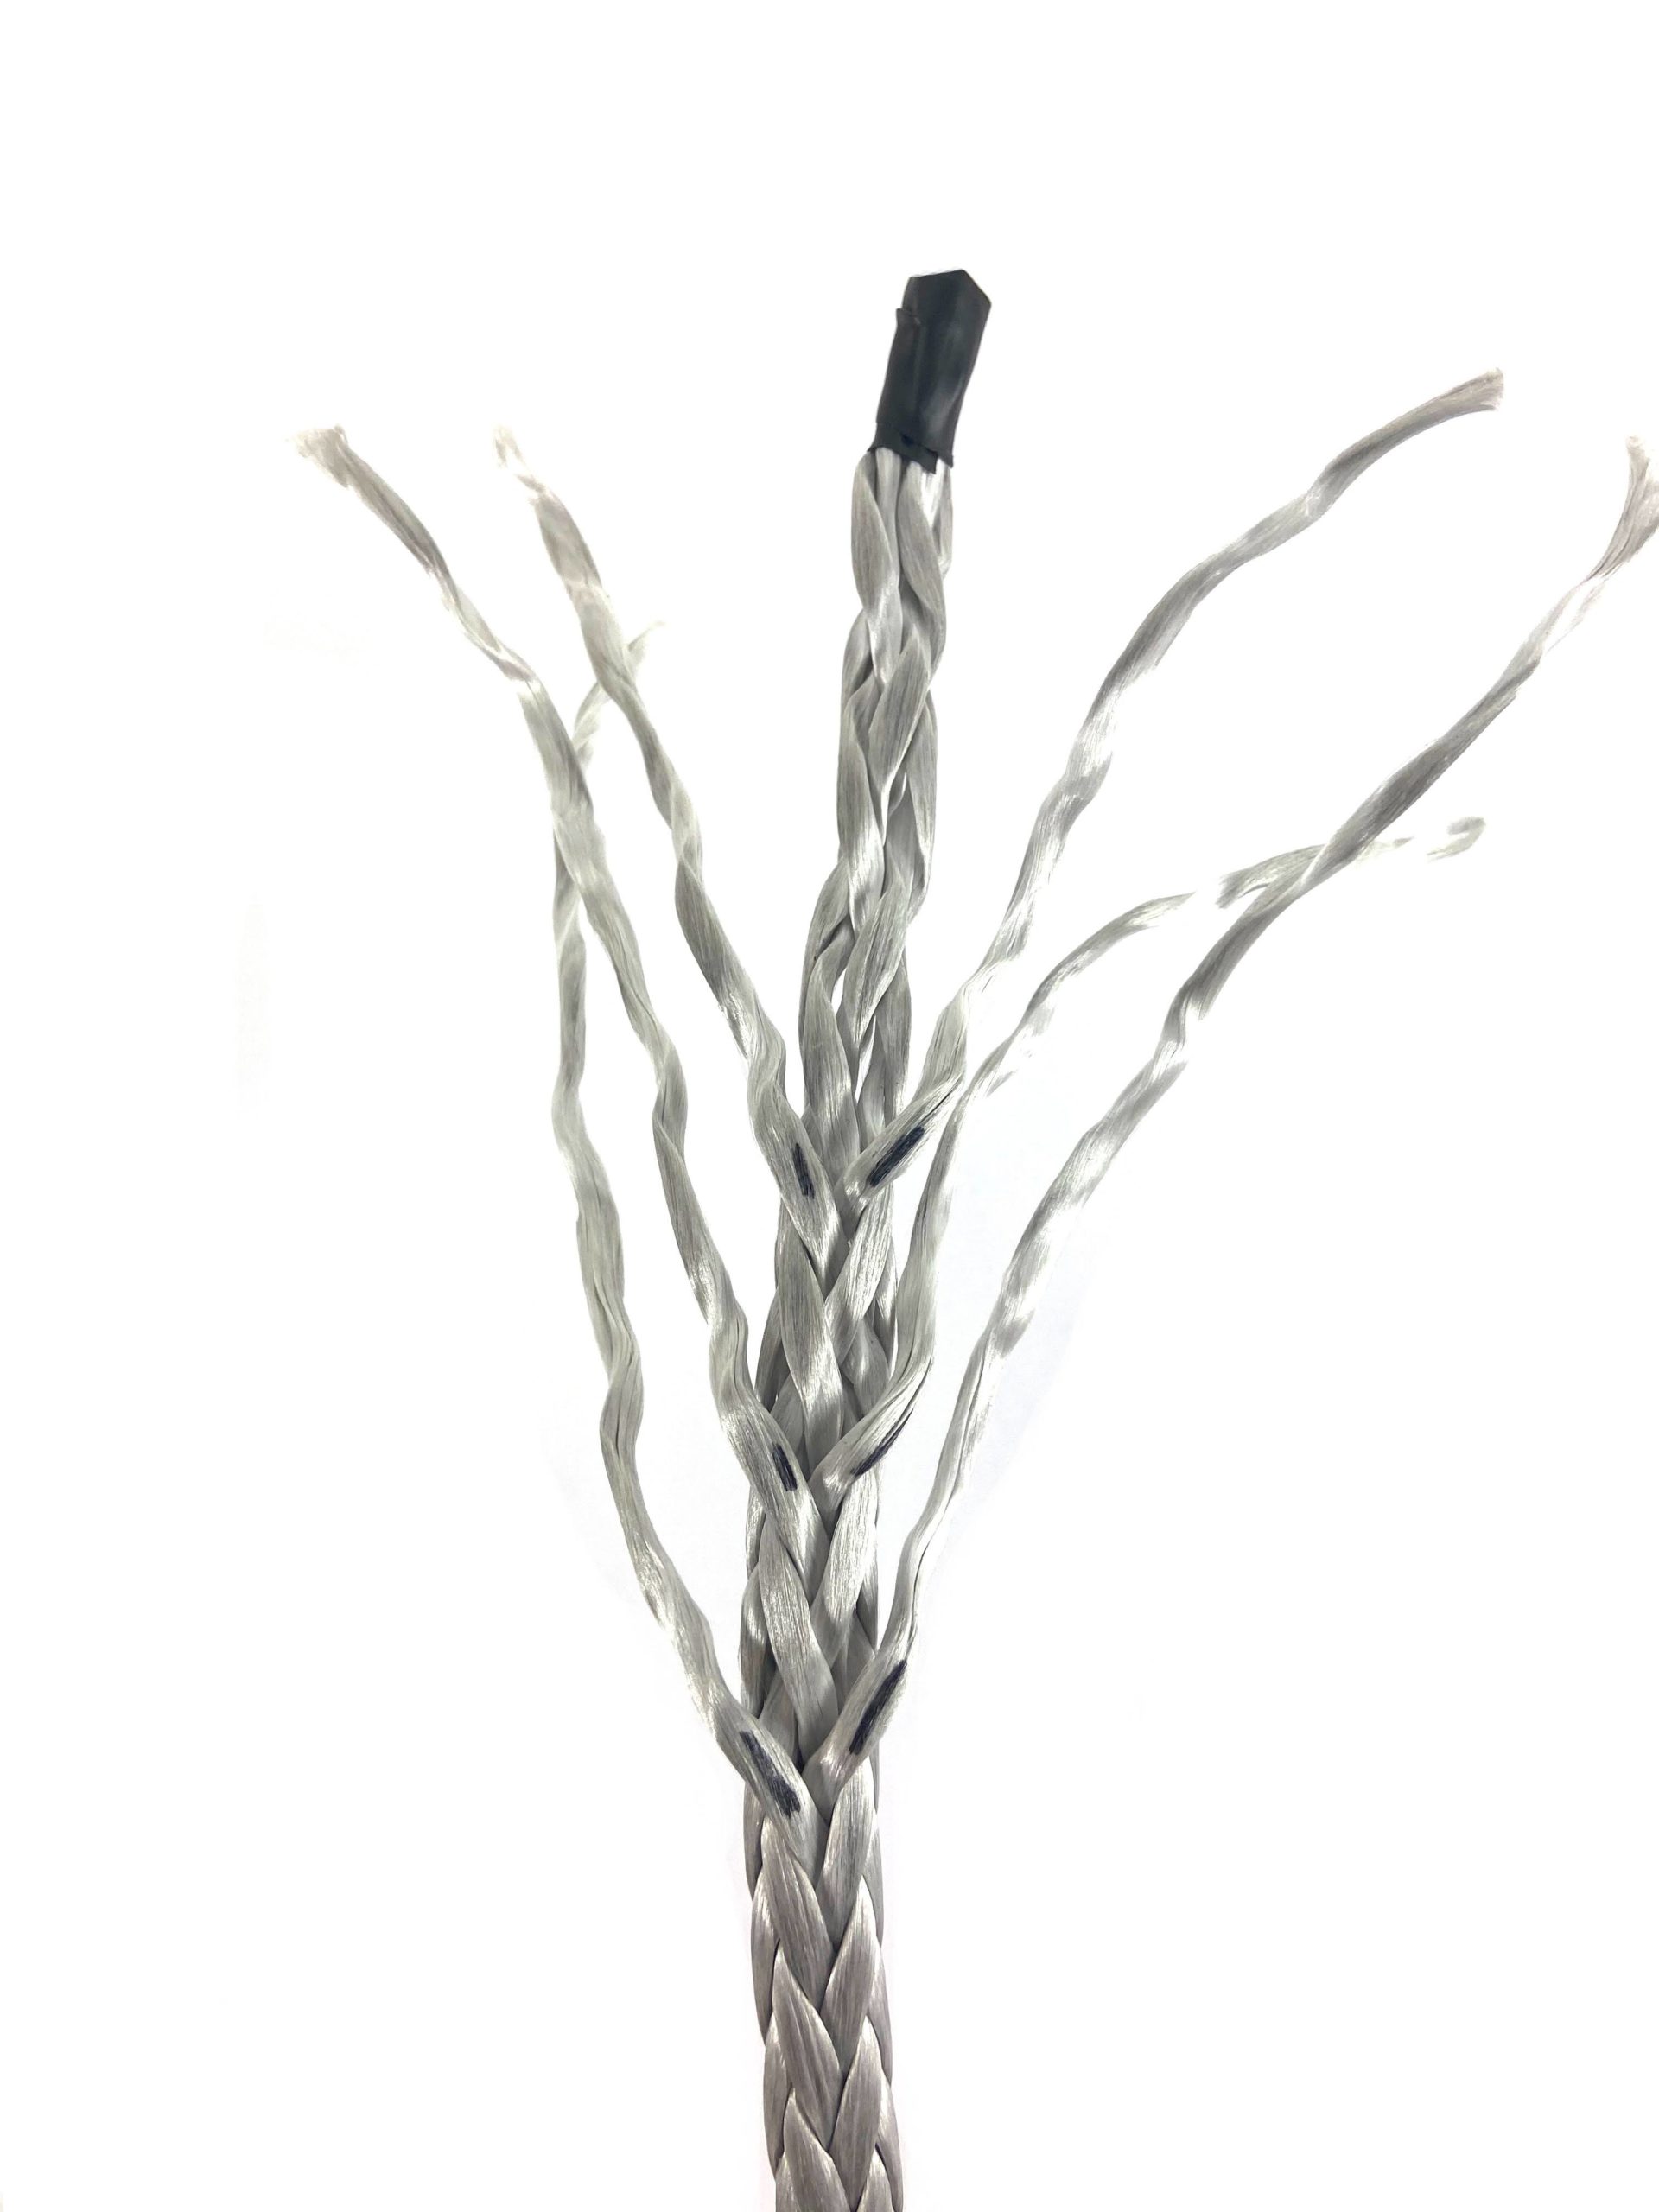
STEP 2 Tapering your Synthetic Winch Rope: In this step, you will taper the end of the rope. Measure about 6”-8” back from the end. Pick out a single strand from the braid at that point and pull it out. Move out toward the end of the rope about 1”, alternate sides where you previously pulled a single strand, and pull another. Do this until you reach the end. You should have at least 6 single strands of rope pulled out. Using your scissors, cut each of these along their base where they exit the main braid. Using your electrical tape, wrap the braid starting from your first single pulled fiber all the way to the end. Cut the tape, you should now be left with a tapered end.
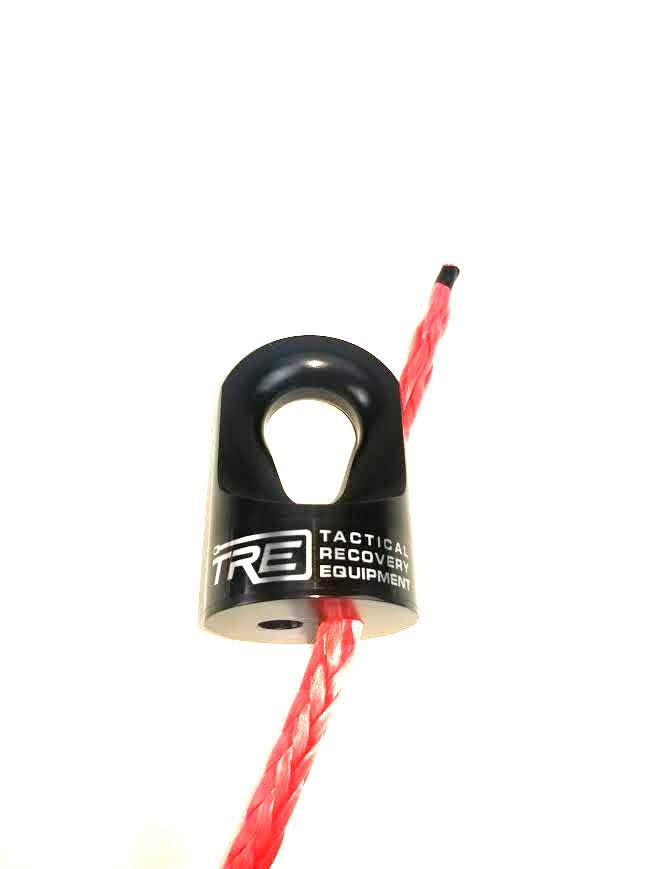
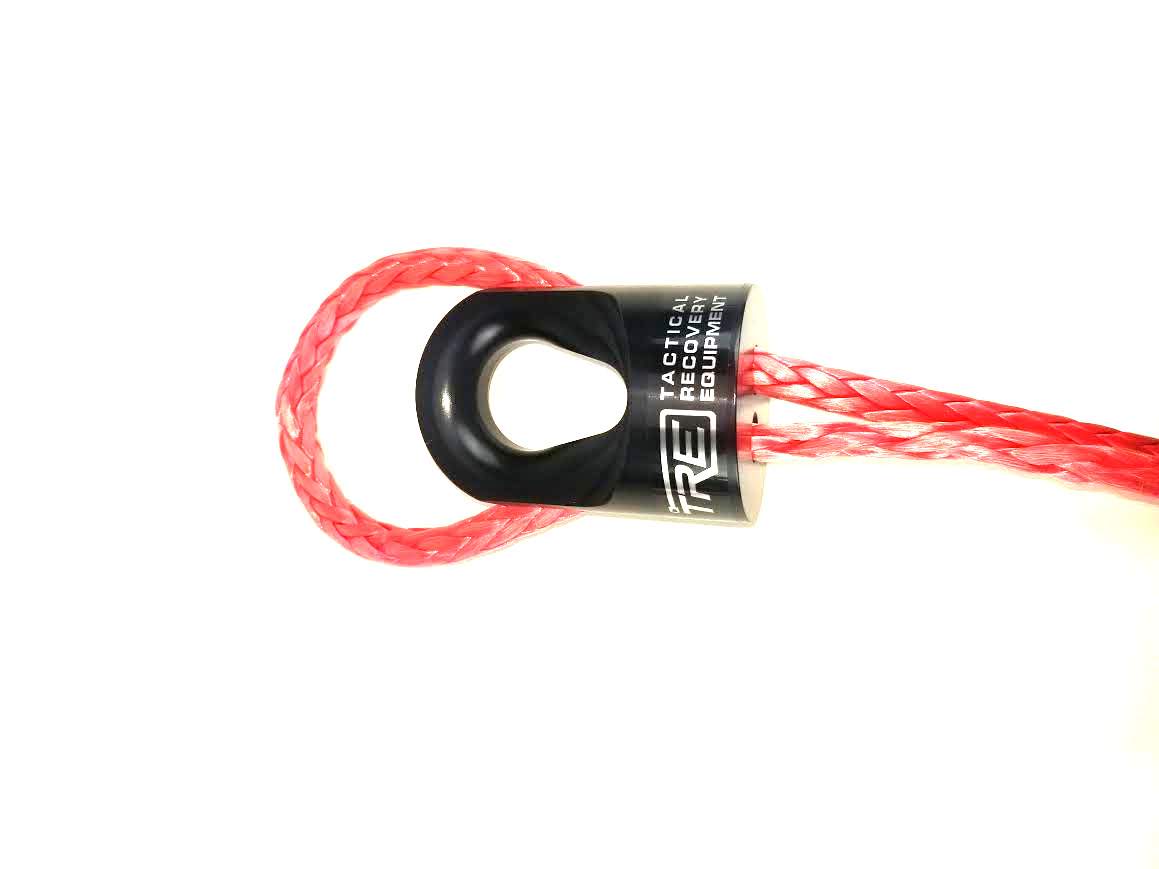
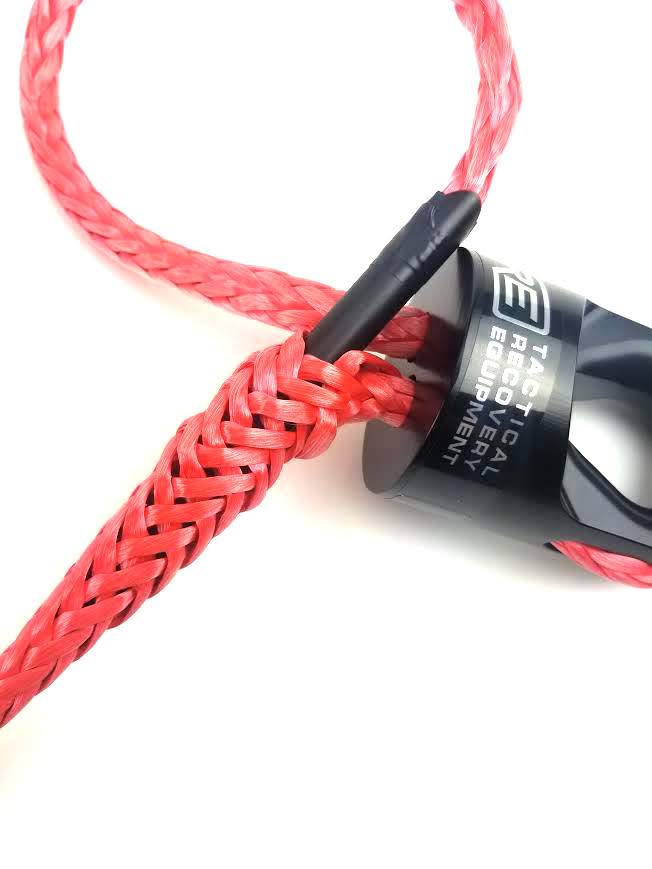
STEP 3 Installing your Winch Rope on the Safety Thimble: Take your Safety Thimble and insert the tapered end of your winch rope through one of the holes in the base of the Safety Thimble. Pull out enough rope to go around the top groove of the Safety Thimble eye and put the tail through the other open hole. Pull a length of tail minimum 16”-18” below the base of the Thimble. This is important and will be the strength point of your long buried-tail splice!
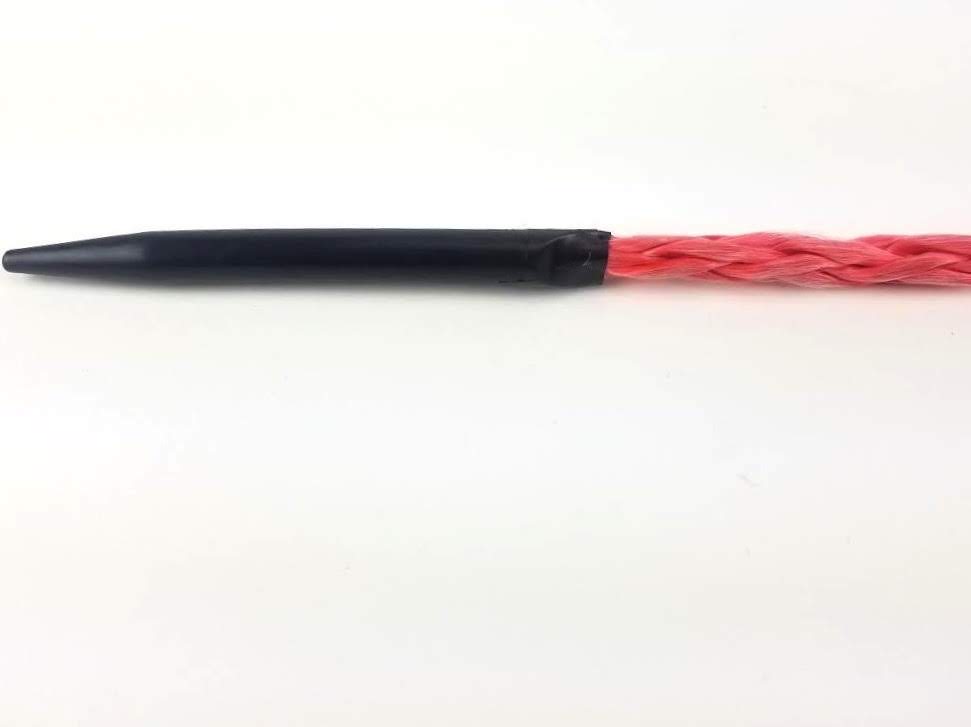
STEP 4: Using the provided splicing fid and your electrical tape, take the end of your tapered rope and tape it to the end of the splicing fid. Be sure you make smooth overlapping wraps to avoid a snag while burying the tail.
Step 5 Burying the Eye Splice: As close to the base of the Safety Thimble as possible, use the end of the fid to open a hole in the center of the main rope. You may have to gently alternate a few strands to find the exact center. Now slide the fid into the center hole, slowly guide the fid inside the center of the rope. Think of it like a “Chinese Hand-cuff”. Once you reach the end of the slack at the base of the winch thimble, you can exit the splicing fid from the center of the rope. Remove the fid from the tail. You may choose to remove all the electrical tape from the tapered tail, but it is not necessary. Hold the Safety Thimble in one hand and grab the rope just beneath the Thimble base in the other. Firmly slide your hand down the length of rope until you reach the end of the buried tail.


THAT’S IT!!! IT’S THAT EASY!!
*If you have a sleeve installed on your winch rope, you may choose to slide it up to the base of the STII at this point.
*Upon initial pull under tension, this will “set” the STII and the buried tail.
Share this: